1 Preperation
- Firstly, Switch of the electricity at the mains.
- All mouldings should be fixed to clean plaster, before starting remove any old wallpaper, paint, grease or dirt. If applying to new plaster make sure it has been sealed/primed first.
2 Align the Ceiling Rose
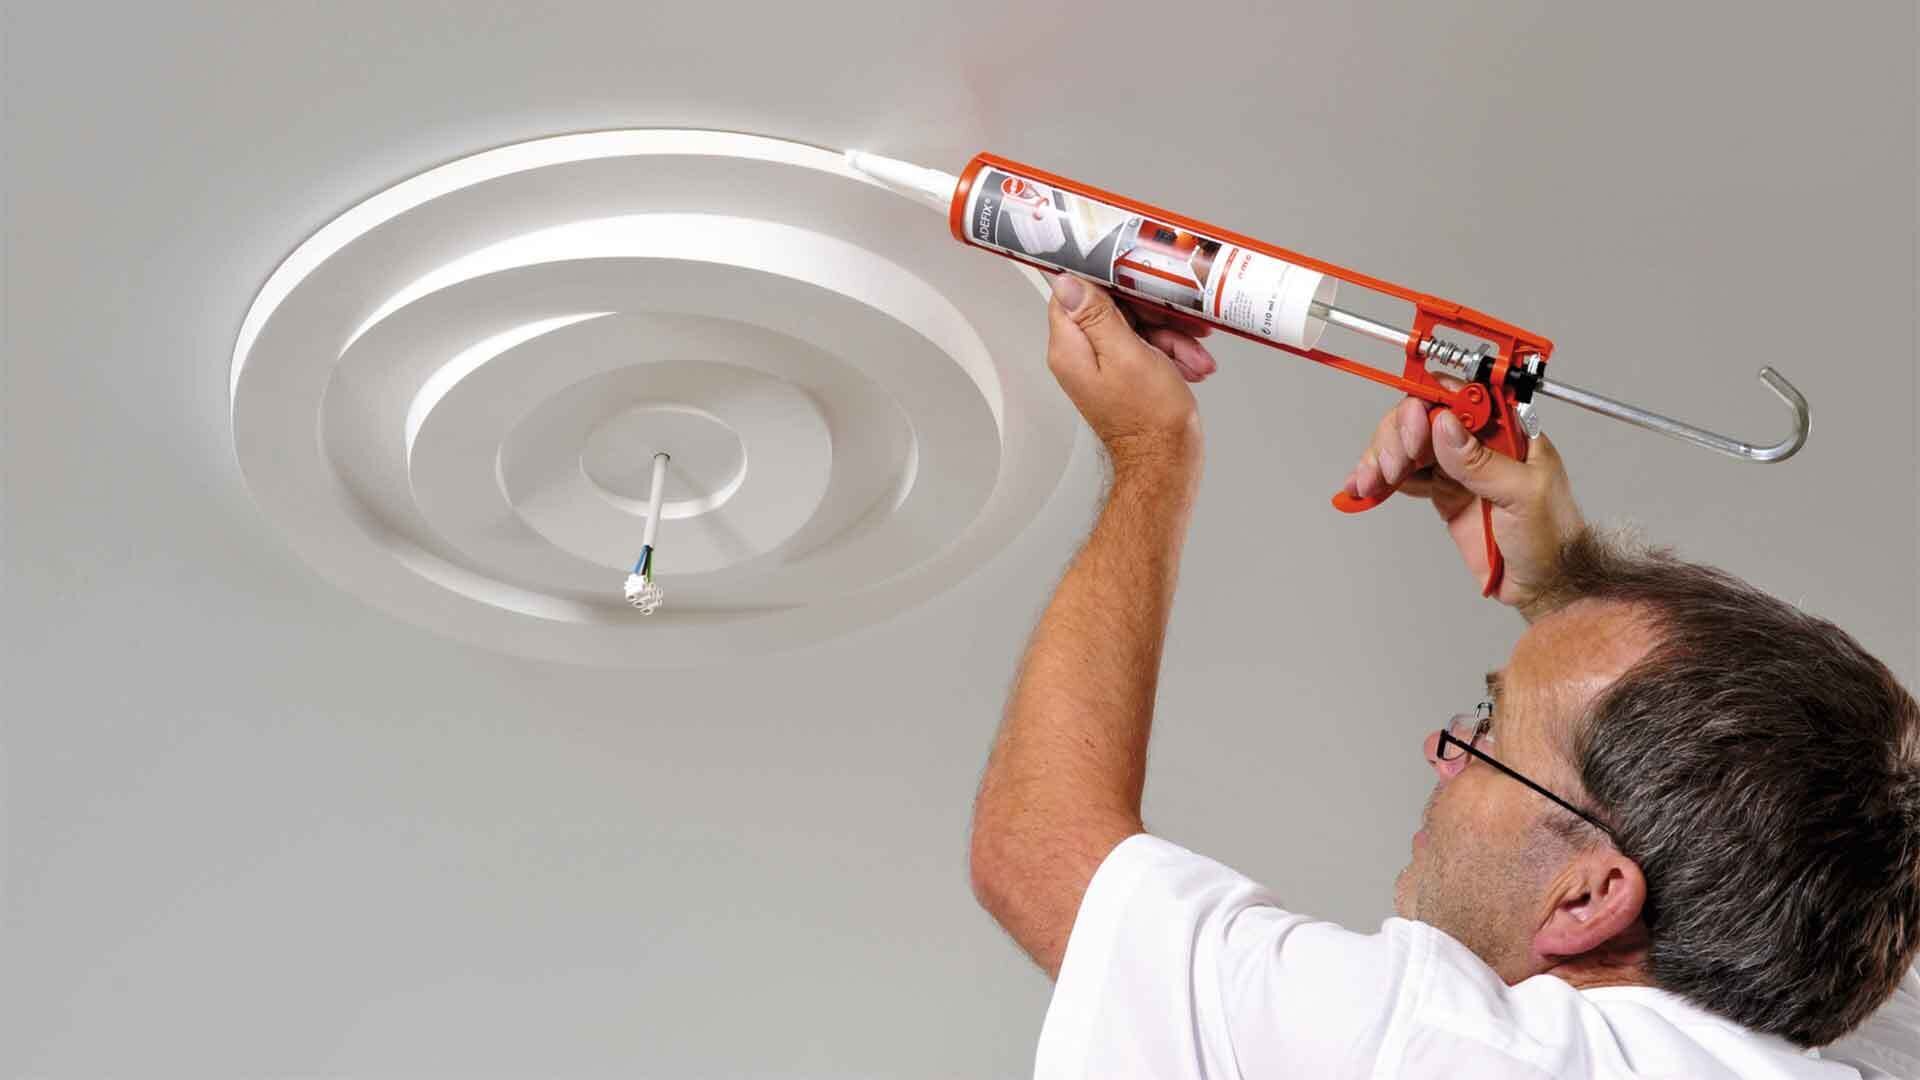
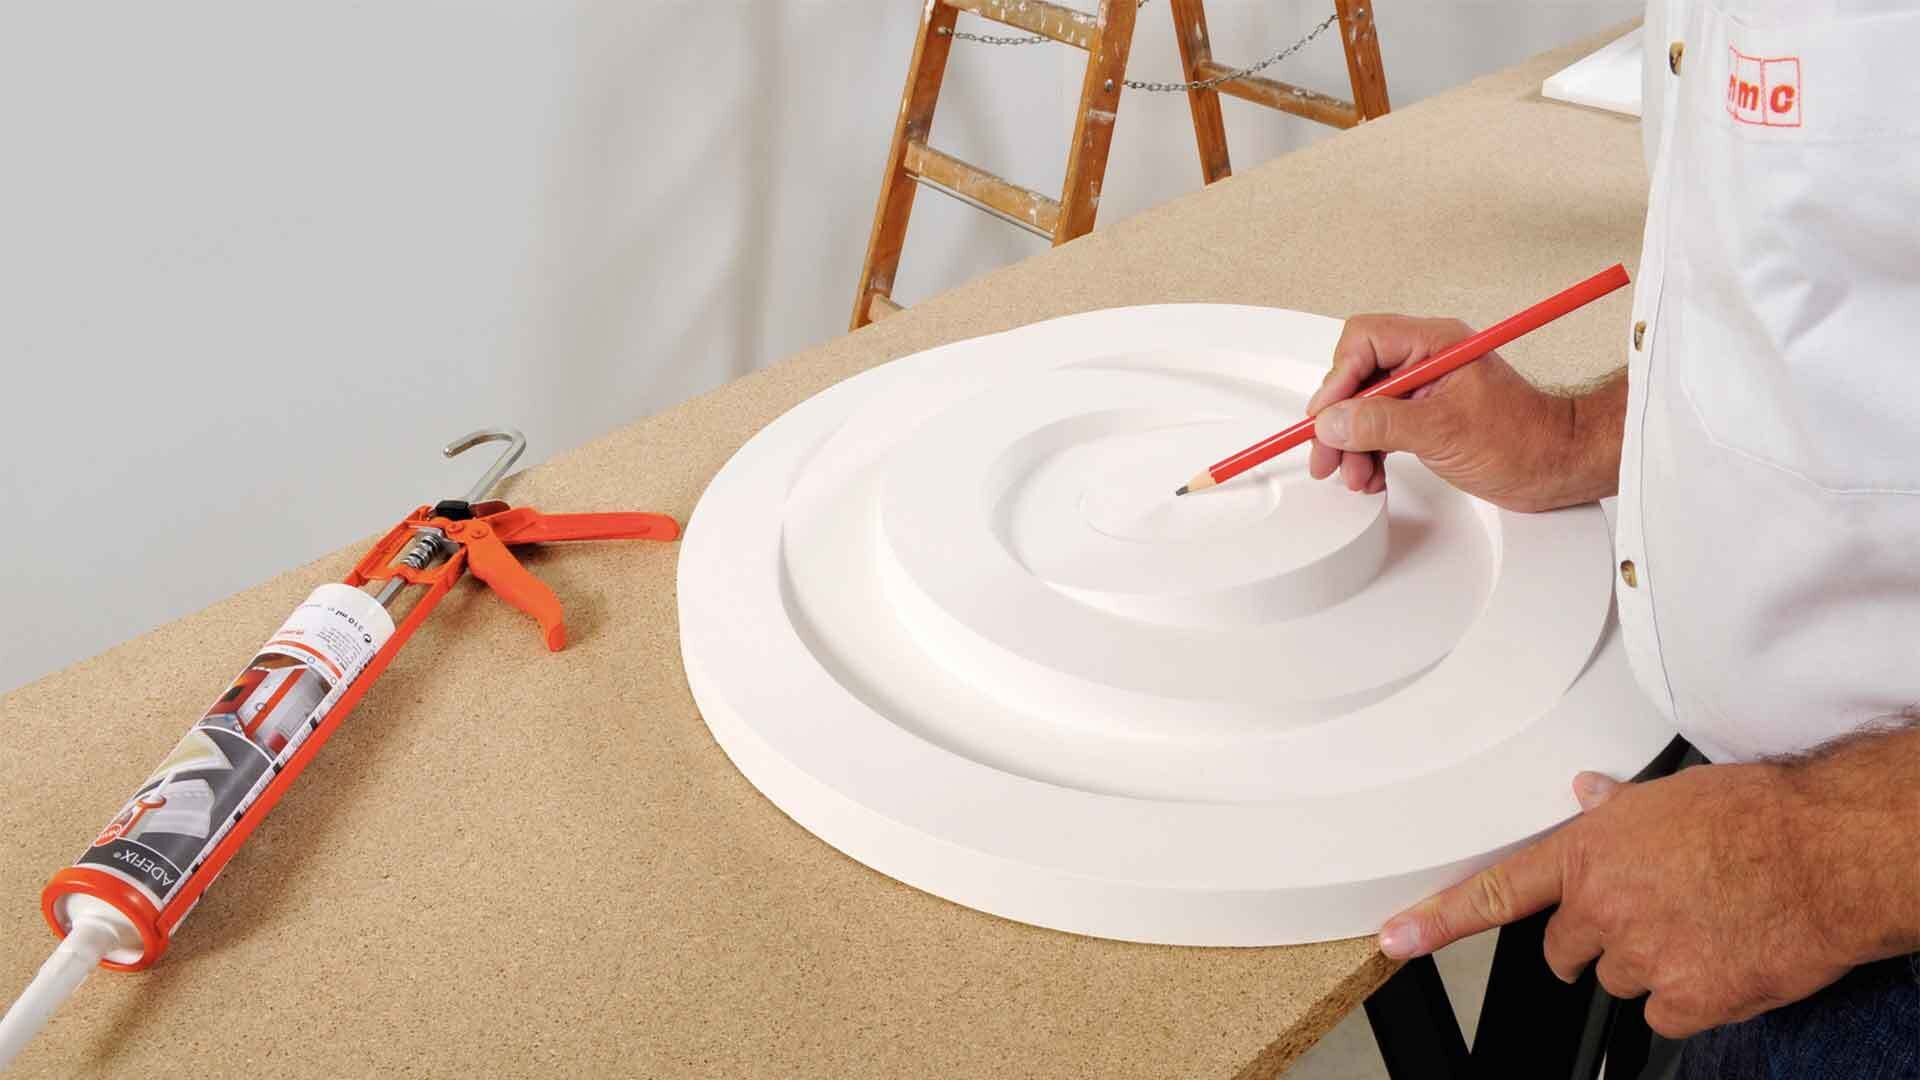
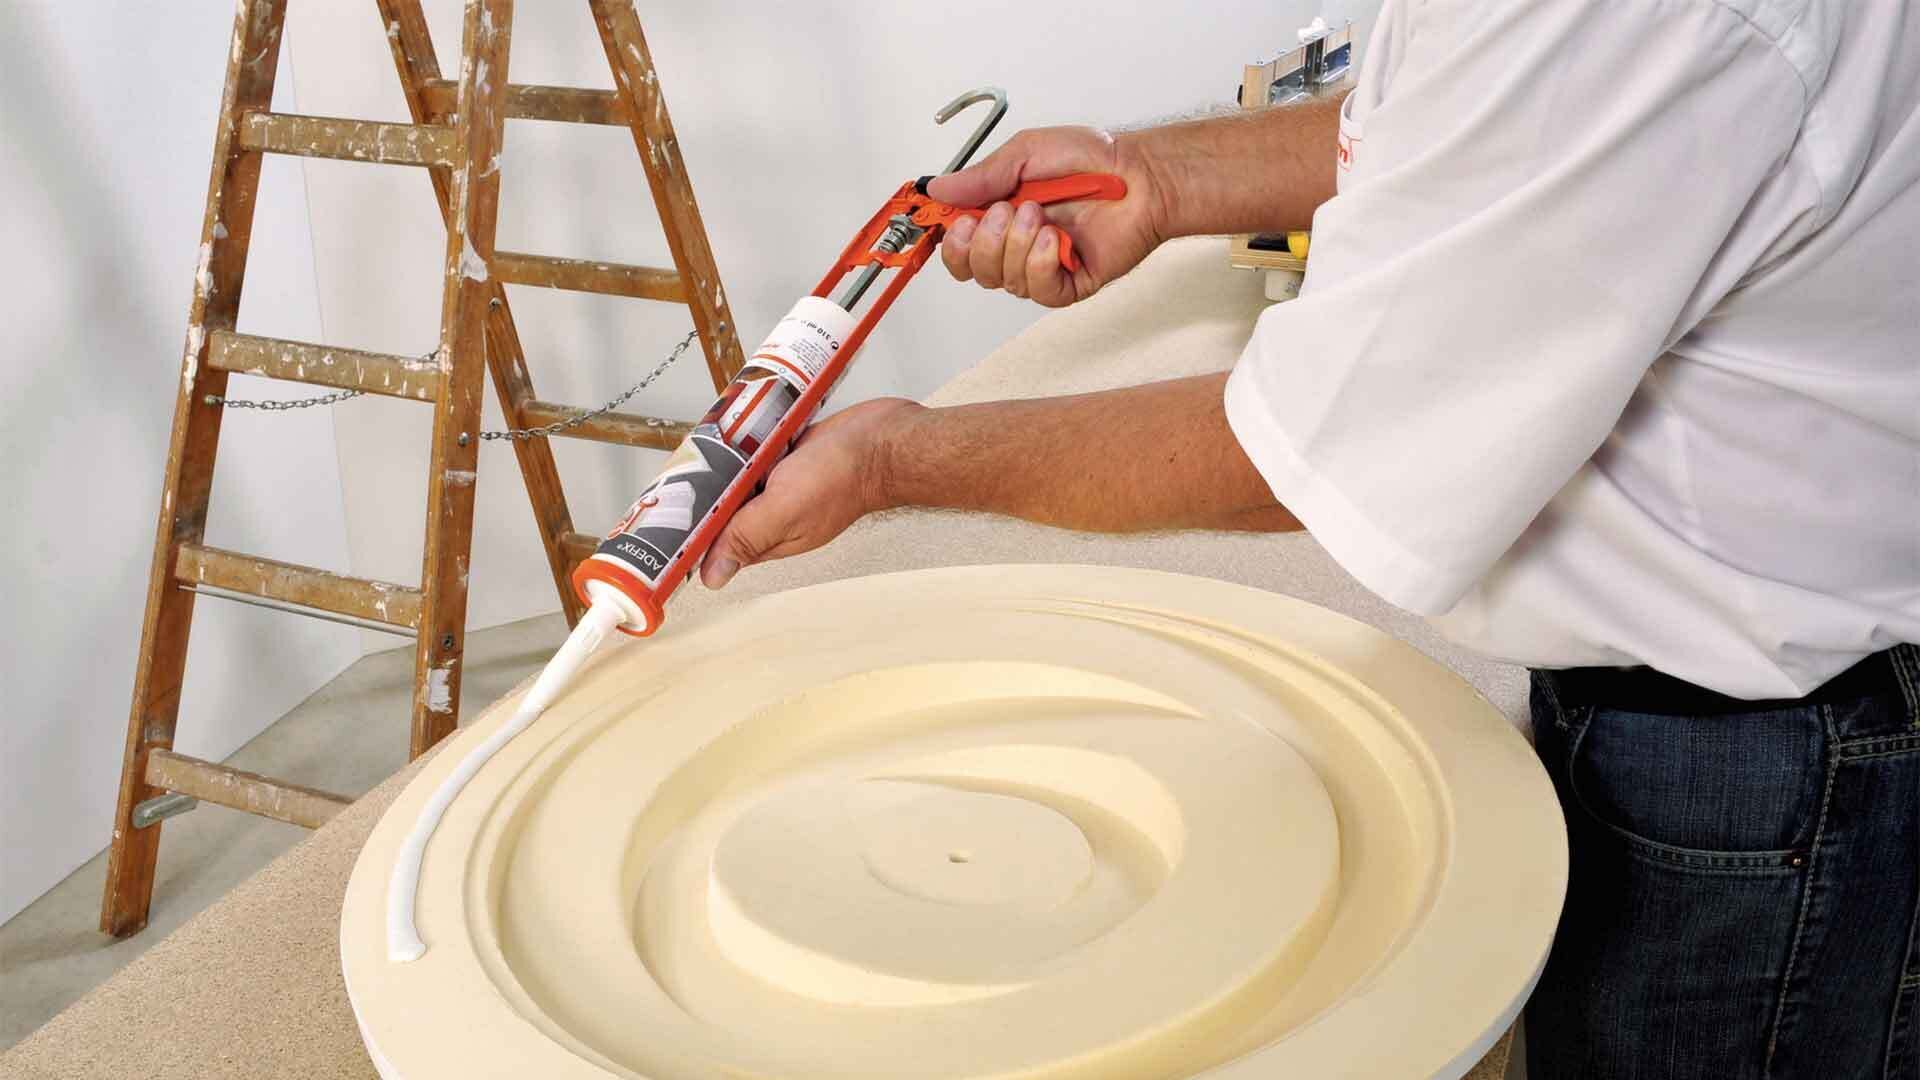
- Align the ceiling rose on the ceiling, measure and mark its position.
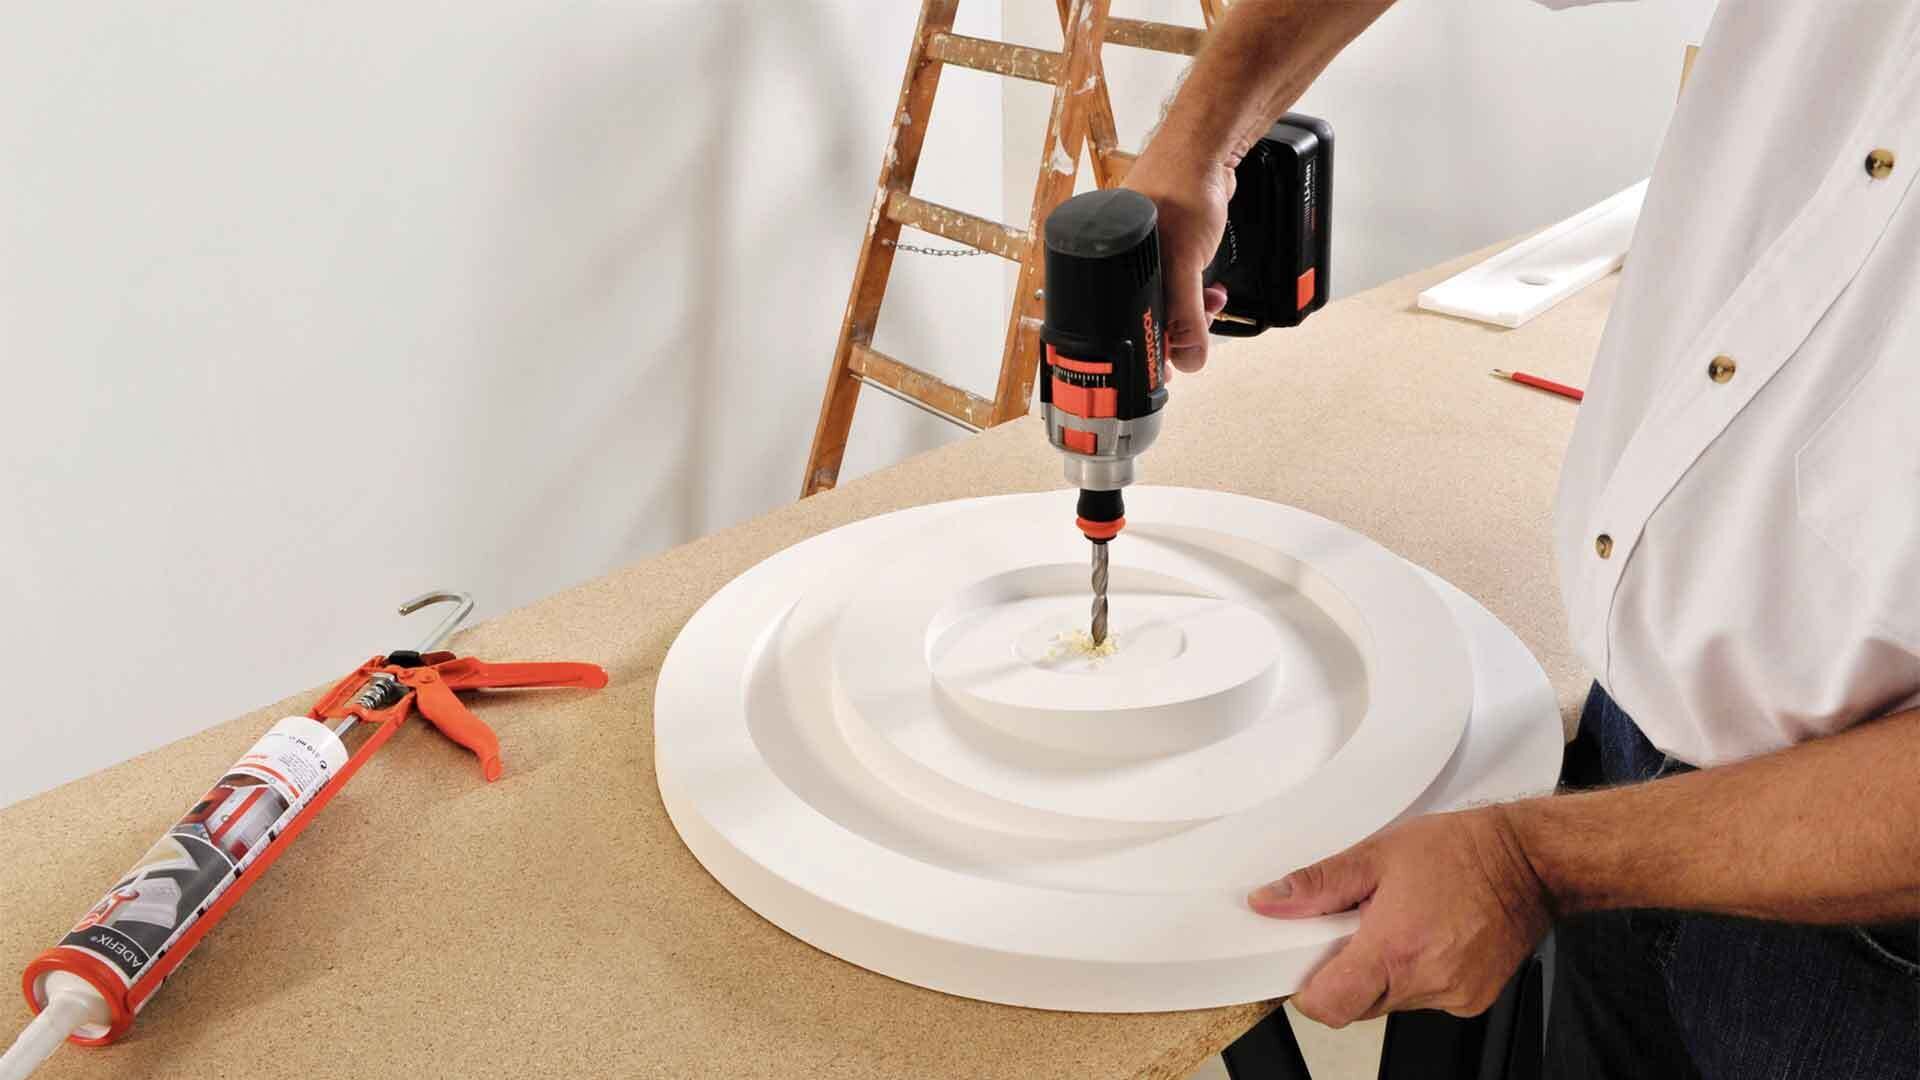
- If necessary, create an opening for the electrical cable and the light fixture using a hole cutter or saw.
Additional Info
- Please wait 24 hours after installation before you apply your finishing coat.
- NMC Copley ceiling roses are coated with a primer so no additional preparation is needed.
- The ceiling rose must be covered with a finishing coat within two weeks after installation and will accept most decorative paints. For best results use an acrylic eggshell.
OUR PRODUCTS
-
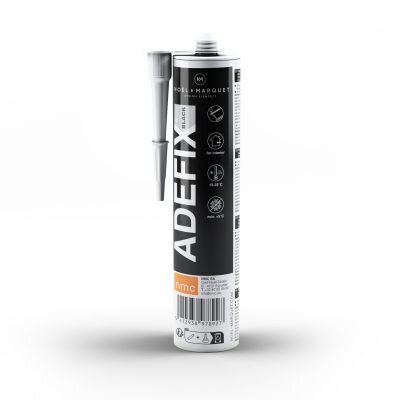
ADEFIX® BLACK Coving Adhesive 310ml (1 pc)
£10.92 -
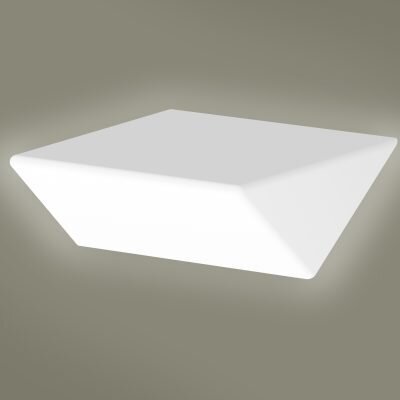
ARSTYL LED Clips
£6.00 -
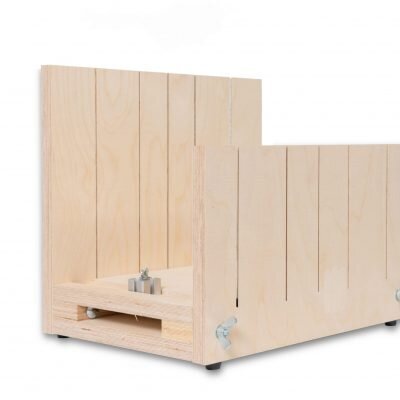
Art Deco Mitre Block
£166.54 -
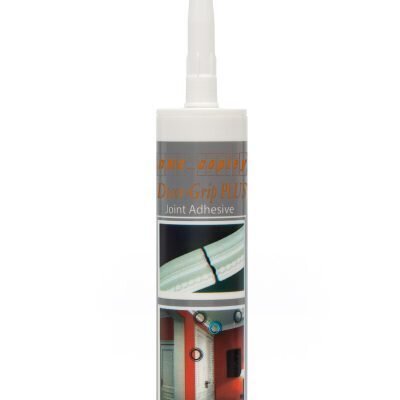
Decor Grip PLUS Adhesive
£12.41 -
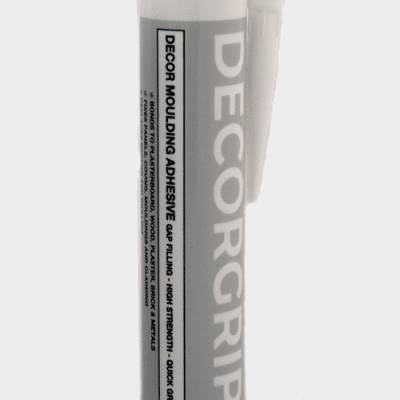
Decorgrip Coving Adhesive 310ml (1 pc)
£4.39 -
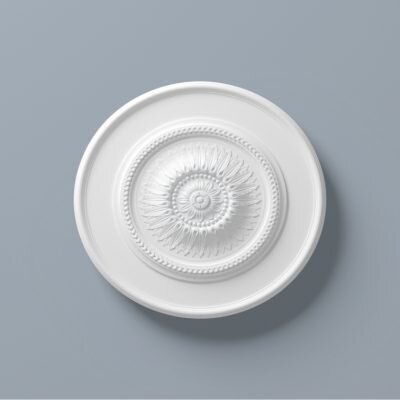
R10 ARSTYL® Ceiling Rose
£72.59 -

R11 Arstyl® Ceiling Rose
£84.86 -
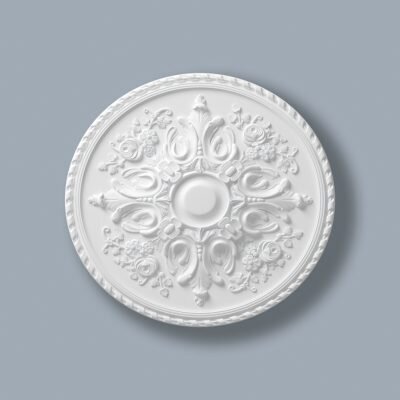
R12 ARSTYL® Ceiling Rose
£119.52 -

R14 ARSTYL® Ceiling Rose
£41.68 -

R15 ARSTYL® Ceiling Rose
£69.08 -

R1517 Arstyl® Ceiling Rose
£24.39 -
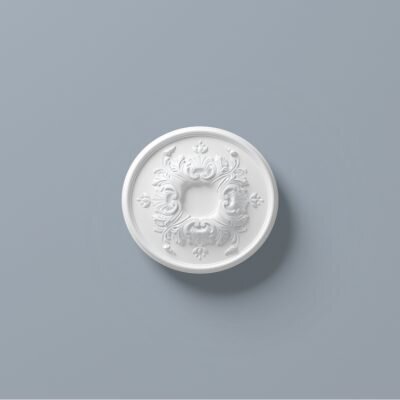
R1520 ARSTYL® Ceiling Rose
£48.77

